The Login and Registration functions are now complete!
I spent all of today porting the back end code from Java to PHP. It took me a decent bit, but I combined some sections of the code as PHP isn't as conducive to OOP as Java, and I didn't need the modularity I had before.
The site uses some client and server side authentication so if you want to try and break it, by all means please try while my database is largely empty!
I ran into a couple bumps deploying the code tonight, the main one being that yet again, my hosting lacks a certain feature. Namely MySQL Native Driver, so that means the functions I had built to connect to MySQL didn't work so I had to rework them all to work without the driver.
Minor stuff, but still, annoying. I'll have to take that into account in the future as well.
However, the website and login functions are fairly secure, I still have a bunch more security to add as well, but for now I'm happy with the deployment.
The next step is using the generated internal token to authenticate e-mails by sending automated e-mails so that visitors can Opt-In to the news feed.
Exciting stuff! I'll start work on that next weekend, so hopefully I can start authenticating e-mails automatically in the registration process.
Cheers and go register at the website!
-Jason C.

Sunday, September 28, 2014
Sunday, September 21, 2014
Updated Website Deployed - but... have to rebuild the back end.
Well I deployed the new website to my HostGator web hosting account... ONLY to realize they don't offer Tomcat Apache support for my plan.
And since my back end is built in Java, that pretty much means I need to learn PHP and rebuild my entire back end. Delightful.
All snarkiness aside, I'm glad to have the front end built out, even if rebuilding the back end is going to be a pain. There's a lot to see on the web site, with a galactic map on the home page and 5 game pages to check out, feel free to browse and let me know what you think!
So I guess I'll be learning more PHP to get the back end up and running, but at least I know where to go from here. It probably means I'll have to set up a WAMP stack on my home machine too which I don't currently have installed.
It's 100% my fault for not reading all the details, but I read they had Tomcat support and never bothered to do any kind of testing.
Anyway, at least the back end stuff isn't visible to the user so I can just work on that and deploy it when it's ready.
Cheers!
Jason
Thursday, September 18, 2014
Creating a Rotating Gallery - Game Page Links for new Website
So the games page was supposed to be a simple panel of images that linked to pages for each game I have created and/or worked on. But I thought to myself, "That's Boring!" so I created my own rotating gallery page viewer that flips through all the options as you click on them.


The rotating gallery uses JQuery, Javascript and CSS3, so knowing a bit about those will help you understand what's I'm doing.
First, here are a couple screen shots of the gallery:
When you click on a panel to each side, it rotates through the selection to that panel:
It also uses CSS transitions so it has a nice easing effect as well.
For each panel, they will link to a page specifically for that game. Right now you enter via clicking the button at the bottom but I might change the coding so that when you click on the main picture, if it is active you will go to that page.
The code is a bit long so I won't go into too much detail, but I'll highlight a few of the places of note in the script and CSS.
The Main Page:
So the goal was to just add divs as I needed and to have the JavaScript file manipulate and add the divs to a list and control them that way.
I wanted the main page to be easy to add things to and all the work to be hidden in JS.

Styling:
The exciting thing about the rotating gallery is using CSS classes and ids with the CSS3 transitions to create neat effects just by swapping the classes and ids of the divs. It makes putting neat transitions in your website a lot of fun and fairly easy to do. I know this isn't new to a lot of web developers, but if you're somewhat new to web design and development, this stuff can be pretty exciting.
Let's take a look at the CSS file and see how it's doing a lot of the work for me:


So now all we have to do is link the divs together and add some click functions!
Script:
The first part of the script is the set up. I call this to push each ID into an array for my divs and set them all up to be ready to be called by the rotate functions. I set all the divs to invisible and hidden and add the on click functions to each of the divs (only called when visible and not the current one), so essentially only the previous and next ones can be clicked (but I could expand this out later if I wanted). Then I call the rotate function to set up the screen properly.


I'll show you a snippit of the RotateNext function so you can get an idea of what it's doing. Basically I need to shift all relevant divs, which means, 2 before, 1 before the current and 1 after are the relevant divs, since all others will remain hidden.

Then I set the currentShow (the currentDiv, not sure why I named it that) and we're good for this rotation! Then if our current one isn't the one we wanted to click to, it will continue to rotate until we reach our destination.
So that's a little bit about the Rotating Gallery that I made, next steps are working on all the pages for the actual games and getting A Slight Anomaly up on it's own page as well as a playable demo, and then testing and pushing to live! Exciting stuff.
Hopefully this weekend I can power through the game sites so that I can start prepping to push the new website live.
Subscribe to stay tuned into the updates and to learn some neat tips and tricks about web development!
Cheers,
Jason C.
The code is a bit long so I won't go into too much detail, but I'll highlight a few of the places of note in the script and CSS.
The Main Page:
So the goal was to just add divs as I needed and to have the JavaScript file manipulate and add the divs to a list and control them that way.
I wanted the main page to be easy to add things to and all the work to be hidden in JS.
As you can see it's pretty intuitive and makes a lot of sense what's going on. You have 5 game pages, each with a title and an image. I kept the actual links in the JavaScript as well, but that's something I could pull out into the HTML later if I needed to.
Styling:
The exciting thing about the rotating gallery is using CSS classes and ids with the CSS3 transitions to create neat effects just by swapping the classes and ids of the divs. It makes putting neat transitions in your website a lot of fun and fairly easy to do. I know this isn't new to a lot of web developers, but if you're somewhat new to web design and development, this stuff can be pretty exciting.
Let's take a look at the CSS file and see how it's doing a lot of the work for me:
You can see here, we wrap our boxes in a holder with position relative, so that we can use absolute positioning. Also the neat work is done with the transition tags. All it's saying is that between changes in the class to modify position, we're going to give all transitions a .5 second ease between the divs, and the browser will do all the animation work for us. Neat!
Here we're specifying the size and dimensions of our Previous node, our Next node and our Hidden nodes. You can think of this gallery like a linked list. We're going to be rotating through images, and the first image will always appear after the last one and vice-versa. For this gallery I wanted to make it seem like the pages were fading away so I set the opacity to 50% and the size to 50% for the images to the side.
You'll also see I set the Z indices up so that the main one was the highest and the next/prev ones were in between and the hidden nodes were the lowest.
Note: It's important when you set your Z-Indices, to keep them positive if you want the divs to be clicked on. If you don't it's likely click functions won't work because they'll be behind the main layer of the page.
So now all we have to do is link the divs together and add some click functions!
Script:
The first part of the script is the set up. I call this to push each ID into an array for my divs and set them all up to be ready to be called by the rotate functions. I set all the divs to invisible and hidden and add the on click functions to each of the divs (only called when visible and not the current one), so essentially only the previous and next ones can be clicked (but I could expand this out later if I wanted). Then I call the rotate function to set up the screen properly.
The next is our rotate function. This calls out to a few other functions that I've made, the GetPrevious and GetNext functions just check the next and previous number based on the total number and the current number (so GetPrevious(1, 5) is 5 so that we have a linked list) and then the RotateNext and RotatePrevious functions change the classes on the divs accordingly.
I'll show you a snippit of the RotateNext function so you can get an idea of what it's doing. Basically I need to shift all relevant divs, which means, 2 before, 1 before the current and 1 after are the relevant divs, since all others will remain hidden.
Then I set the currentShow (the currentDiv, not sure why I named it that) and we're good for this rotation! Then if our current one isn't the one we wanted to click to, it will continue to rotate until we reach our destination.
So that's a little bit about the Rotating Gallery that I made, next steps are working on all the pages for the actual games and getting A Slight Anomaly up on it's own page as well as a playable demo, and then testing and pushing to live! Exciting stuff.
Hopefully this weekend I can power through the game sites so that I can start prepping to push the new website live.
Subscribe to stay tuned into the updates and to learn some neat tips and tricks about web development!
Cheers,
Jason C.
Monday, September 1, 2014
Website Press Page Finished - Custom Gallery instructions
I just got done with the new Press Page for the new website. There are some neat things I'm doing here so I figured I'd share some of it for newer web designers and developers who might read the blog.


The first is that every page is dynamically loaded, so when you click a button link, the page is loaded from a separate HTML page and then included in the main div that stores the page information. This means there aren't many redirects which saves resources, but also means you can't link to pages directly, you have to navigate to them. I'll have to look into adding a way to load a page with additional header information.
The second cool thing, (a little thing, but I like it a lot) is creating a fixed position menu bar for the Press page that sits at the top of the page, but won't overwrite the header image. I'll show the code for this as well.
And the final thing is a custom gallery for the Press page that loads images and titles from an XML page and displays the images in a miniature gallery bar and then when they're clicked displays them and the title in the main frame.
And the final thing is a custom gallery for the Press page that loads images and titles from an XML page and displays the images in a miniature gallery bar and then when they're clicked displays them and the title in the main frame.
Dynamic Loading
So for each page, I'm dynamically loading the HTML into the main "div" that holds all of the page information. This div sits below the header and is emptied out and replaced with current page information on button click.
Here's a snippet of what the button is doing when clicked to load the Press page:
I use JQuery to load the page in and then when it finishes, I add in the functionality for the Menu Item slide panel, and the Gallery.
Sliding Menu Panel
This brings us to the next neato thing, the Sliding Menu Panel. As you can see below in the next two screen shots the menu panel sits below the header, but as you scroll down, it locks to the top of the screen.
Sits Below Header
But Locks to the Screen as you scroll down
This isn't tremendously complicated, but it involves adding a little bit of JavaScript in order to get it working correctly.
As you can see in this snippet, I'm changing the CSS dynamically depending on the scroll location of the page. And if my current page is not the Press page, I remove the scroll listener so it doesn't affect anything I don't want it to.
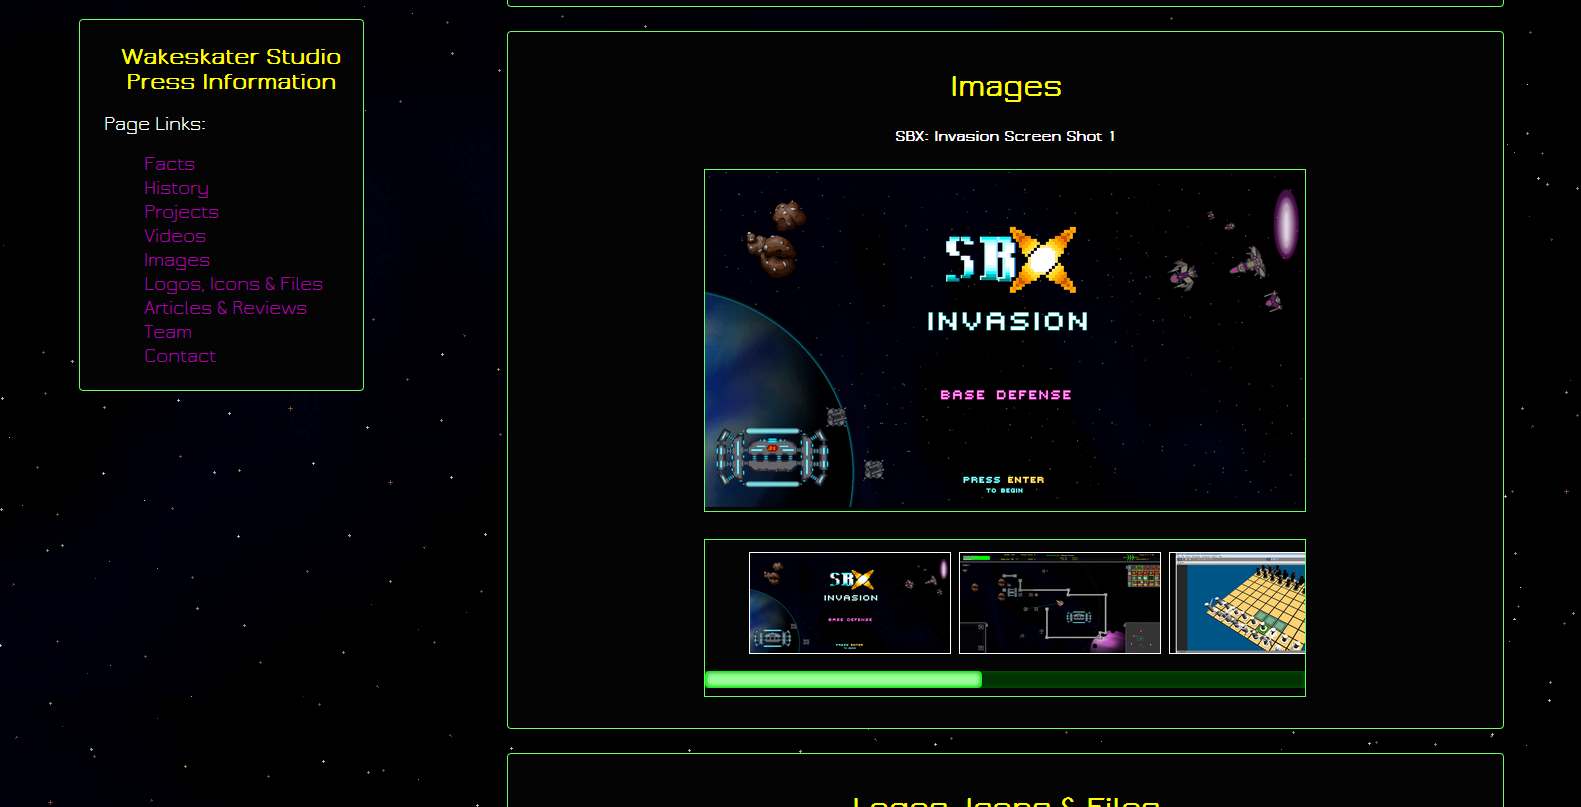
Custom Image Gallery
The final cool thing I did for this page is create a custom image gallery. I wanted to be able to add images quickly and without touching the JavaScript or HTML and I wanted to include information with each image (such as a title), so I'm storing the image information in an XML and retrieving it when the Press page loads.
In the second screen shot above, you can see the gallery as it's loaded. Each miniature image updates the main image frame when clicked. (Also you'll notice I customized the scroll bar's CSS, there's a nice article on that here).
First let's take a look at the XML structure. It's not very complicated and you can add whatever kinds of data you want and you can use JSON if you prefer, but I think for simple things like this, XML is much easier to read.
Once I had my structure set and my XML page filled with all the titles and image locations I needed, I then wrote a simple script to load in that data (in the function loadGallery() that you saw earlier).
Here is the script, including the function I used to update the main gallery frame:
I won't go into too much detail, the script uses an AJAX get request to grab the XML and then runs through each image's data to create a list with each miniature gallery item, including an on click function to update the main gallery frame with the image when clicked. Then I get the first image from the XML and load that into the larger frame. Then it's just CSS to get it looking right.
These are just some little tips and tricks I thought you might find neat. The site is coming along great, all that's left is a bit more security checks (like encrypting passwords in my database, HA!) and the Games page.
Of course the Games page will have links to pages with information about each game, so that's still quite a bit of work, but it's all relatively simple stuff. The Press page was the big one for styling and formatting work, but it's looking alright.
Also, the website will release with a brand new game to try out! It's a VERY rough demo, but I want to get some feedback on the game before moving further with it.
That's it for now! I'll keep the blog updated as I finish up the website and get it up and running.
Cheers,
-Jason
Subscribe to:
Posts (Atom)